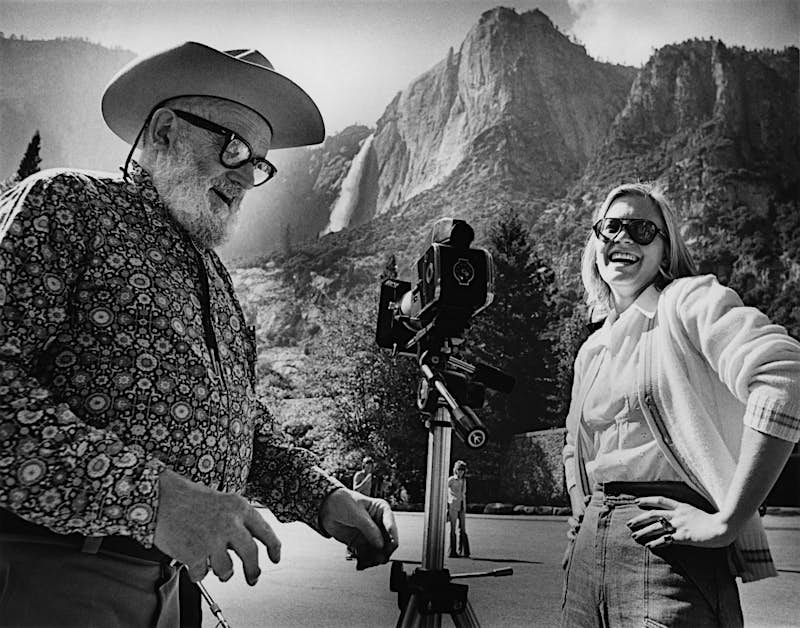
I’m a good photographer, but obviously no Ansel Adams. Adams had a unique style – a way of photographing landscapes playing with light and shadow, creating iconic images both stark and beautiful – and on a recent trip to Yosemite National Park, I learned how to capture some of that magic myself.
Find just the right angle
Although Adams traveled the world, the place he’s most closely identified with is Yosemite – California’s most awe-inspiring location, made even more so by his photographs. The photographers who work at the nearby Ansel Adams Gallery have studied his techniques, and pass on that wisdom to thousands of amateur snapshot-takers and aspiring auteurs each year. Nearly every day, the gallery offers low-cost group clinics, teaching visitors to take better photographs.
But I wanted something a little more. So I plunked down $375 for an afternoon private tour and lesson with one of the gallery’s pros. Can a four-hour one-on-one session with one of these trained tutors transform my images from ‘meh’ to magnificent? More importantly, will I see an increase in Instagram likes?
I was on the fence about plunking down that much money until the day before, when I struggled to get the exact image I wanted at Vernal Falls. I had hiked more than eight miles round-trip, hoping for a big photographic payoff – I wanted the rushing water to have a creamy, cotton-candy look as it flowed over the edge. But because I was hiking mid-day, the slow shutter speed left nearly all my images overexposed, blowing out the whites of the water and leaving the rest washed out. I was determined not to blow another opportunity while I was in this cathedral of nature.
Focus one-third in front of the main subject
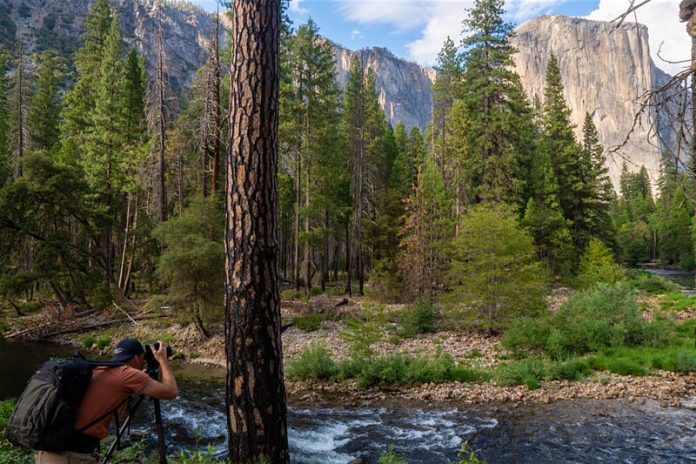
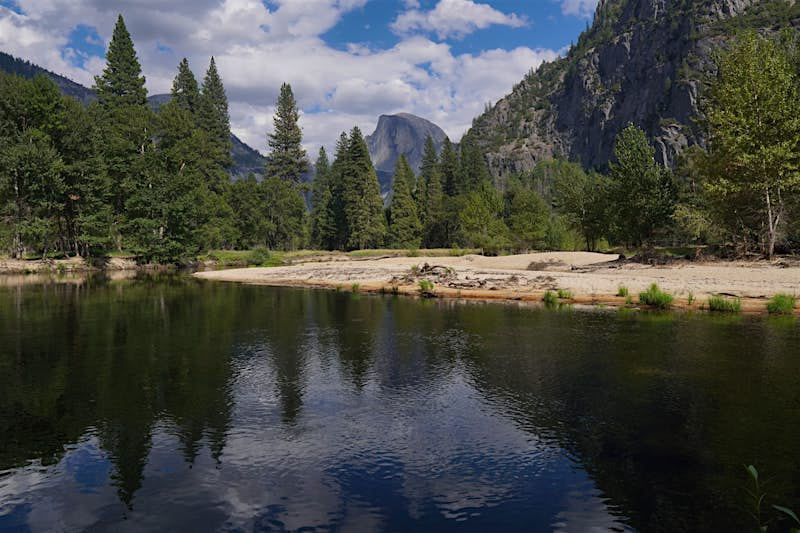
Photographer Kirk Keeler, who has been living near and photographing Yosemite for nearly 10 years, took me on my tour and tutoring session. Within five minutes, we were at our first location, a few hundred yards behind Yosemite Valley Lodge. The stillness of the Merced River mirrored El Capitan and the more distant Half Dome, the two most famous granite monoliths in Yosemite and perhaps the world.
Instead of focusing on the center of the frame, Keeler suggested focusing about one-third in front of the main subject, which would give maximum depth of field to the remaining two-thirds behind it. Shooting in aperture-priority mode, Keeler also suggested I use an f-stop between F9 and F11, as that is the sweet spot for most lenses.
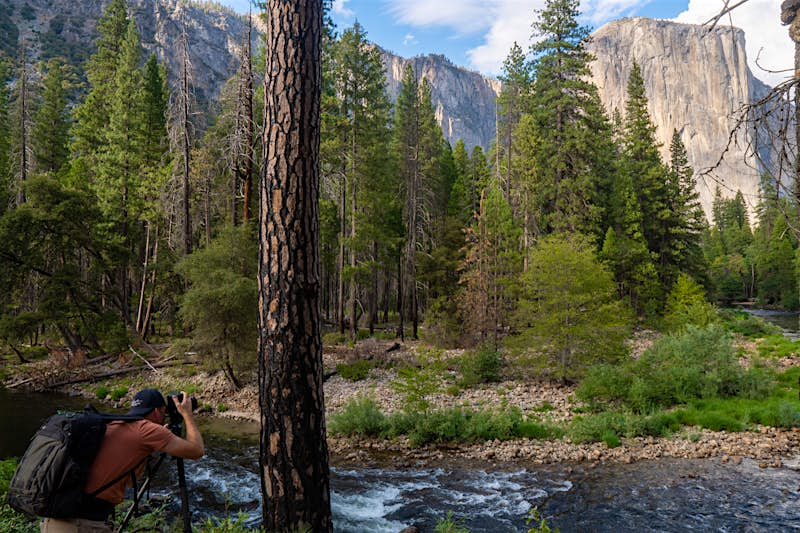
Even in locations around the park where we seemingly didn’t need our tripods, Keeler urged me to use it. ‘The tripod forces you to consider your shot more carefully as you frame it (in the viewfinder),’ he said, before adding with a smile, ‘plus, Ansel used one.’ I quickly realized Keeler was right about the tripod; it made me slow down and ponder exactly what I wanted in my photo.
Let the histogram guide you
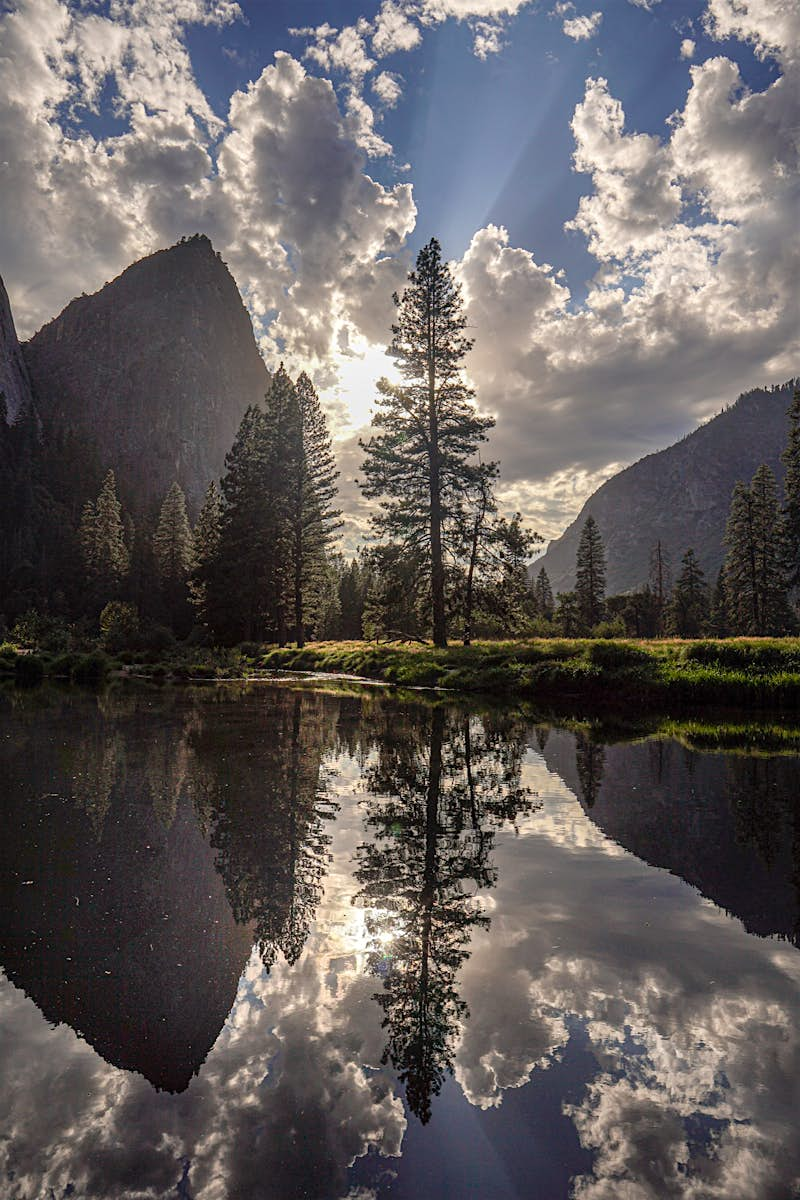
The most important lesson was paying closer attention to the histogram. Before, I’d pop off a few shots, take a quick glimpse at the back of the camera at what I’d just taken, then rush to take several more photos. But by looking at the histogram, I was able to see in real-time if a photo would be useable. If the clouds were blown out and flashing, I dialed back the exposure until I was able to capture them in all their fluffy glory. The rest of the image might be a bit dark, but that’s a quick fix during editing.
For the rest of the afternoon we traveled down the river, trying to capture different vantage points of the two mountains and the waterway. Ironically, perhaps my favorite shot from the day wasn’t a towering mountain but a simple backlit and somewhat bare pine tree reflected in the river.
Adjust with the light
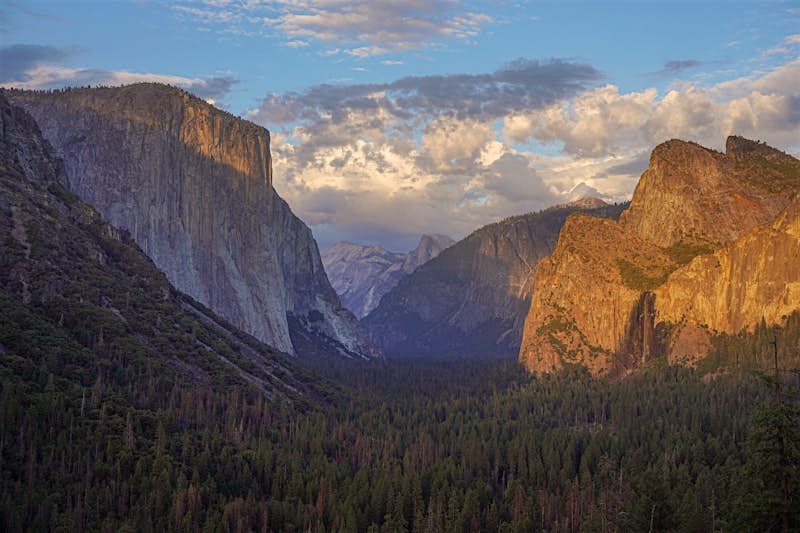
With the clock winding down on our session, we headed to the famous Tunnel View vista. Even with more than an hour to sunset, prime viewing spots were filling up. Luckily, we managed to find two spots along the stone barrier to set up our tripods and discuss our plan of attack. As the sun dropped lower in the horizon behind us, the light on the mountains changed; streaks began to appear on El Capitan, before bathing the range in a soft, buttery glow.
As Keeler pointed out particular areas, I quickly changed lenses on my Sony A6500, going from wide-angle to telephoto and back, trying to capture specific details on the faraway mountains before the light disappeared. Then it did.
Lean on the lessons of a professional
So was my afternoon photo excursion worth it?
My only regret was having only a few kinds of shots; most of the photos I took had the same mountains and river, just from different angles. Keeler had planned to take me further down the river to an off-the-beaten path spot with rocks and swirling water, but an accident clogged the road, so we retreated to a different spot.
In the end, that’s only a minor gripe. When you’re in the Yosemite Valley, El Capitan and Half Dome are the superstars.
Nearly 400 bucks is a lot of money to a freelance photographer, but the tips Keeler gave me are already starting to pay dividends in my photography. Now if only my Instagram likes would pick up.
5 iconic spots to photograph Yosemite
1. Valley View/Tunnel View: When you think of Yosemite, this is probably the view you’re envisioning – El Capitan and Half Dome staring at one another, with either the Merced River or a grove of pine trees in the foreground. Late afternoon and sunset are the best times for photographs.
2. Vernal Falls: Getting to the top of Vernal Falls requires a 3.5-mile hike each way. The best vantage points are just off a steep and narrow granite path. Luckily there’s enough room in a few places to step off the trail and set up a tripod. This is one of the most popular hikes in the park, so be prepared to shoot around other tourists.
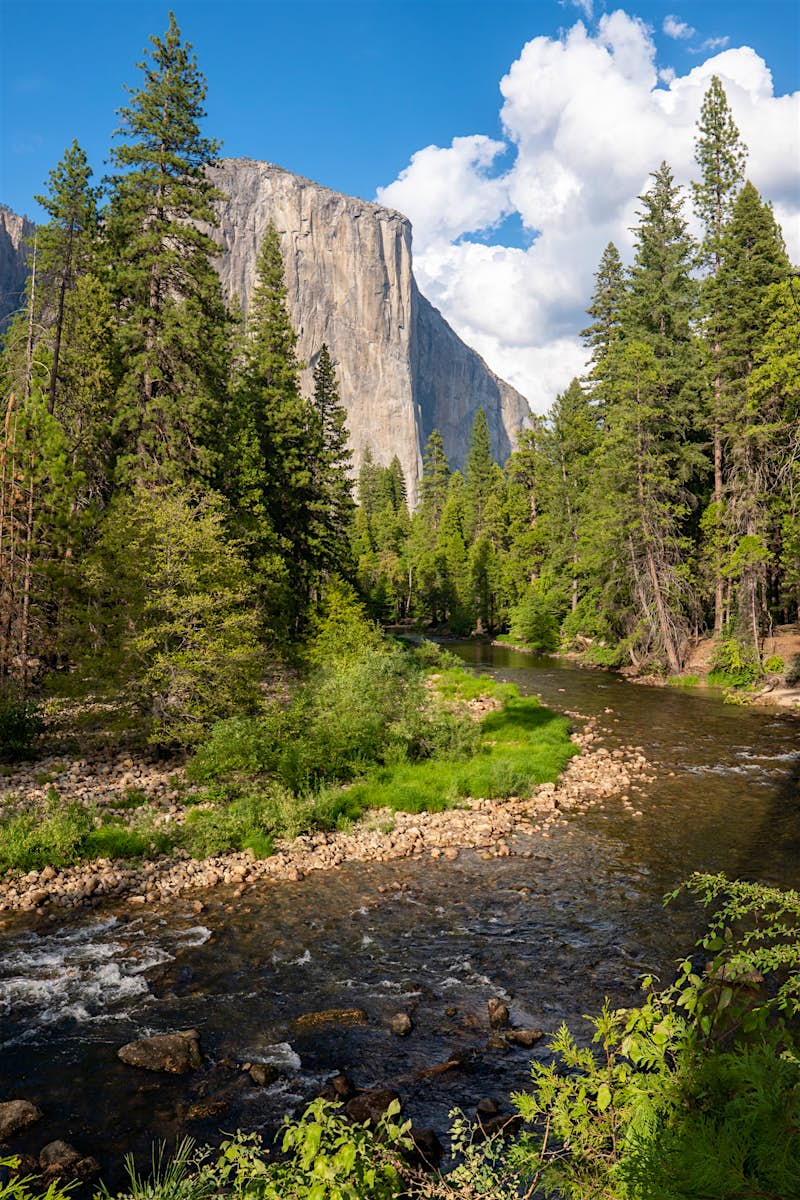
3. El Capitan at the Bend in the Merced River: There’s no signage for the trail that leads out to this vantage point, so either ask around or study a map.
4. Half Dome from the Glacier Point Viewpoint: Sunrise is the ideal time for photographing a gorgeous vantage of Half Dome. The best vantage points are on a large paved path, maybe a tenth-of-a-mile from the small visitor center.
5. Sentinel Dome: Because Sentinel Dome has a 360-degree view of the area, it’s good for either sunrise or sunset photos. The Dome is an easy 1-mile hike from the trailhead. From there, you can continue on to Taft Point, which is nearly 3 miles from the Dome.

